

Transform your garden into the perfect outdoor space with this easy step-by-step DIY patio guide from TJ O’Mahony.
What You’ll Need
A new patio can completely transform your garden — giving you the ideal spot for summer BBQs, relaxing evenings, or entertaining family and friends. The good news? With the right tools, materials, and a bit of planning, installing a patio yourself is absolutely achievable.
At TJ O’Mahony, we supply everything you need to build a patio that looks professional and lasts for years.
With the unpredictable nature of Irish weather, Storm Season can feel like it lasts all year round. From the high winds of the Atlantic to heavy rainfall that puts our gutters to the test, being prepared isn’t just a good idea—it’s essential for protecting your property and your peace of mind.
At TJ O'Mahony, we’ve seen first-hand the damage a severe storm can cause. The good news? A little bit of maintenance today can prevent a lot of heartache tomorrow. Here is our expert guide on how to prepare your home for a storm.
Here’s our simple DIY guide to laying a patio the right way.
Create the Perfect Outdoor Space Yourself

Before you begin, make sure you have the following:
Materials
- Paving slabs
- Hardcore/sub-base
- Sand
- Cement
- Jointing compound
- Weed membrane (optional- but advised to use)
- Sealer
Tools
- Shovel
- Wheelbarrow
- Spirit level
- Rubber mallet
- Tape measure
- String line & pegs
- Plate compactor/wacker plate
- Trowel
- Patio spacer
Step 1: Plan Your Patio Area
Start by measuring and marking out the area using string lines and pegs.
TJ’s Tip: Allow for a slight slope away from your house for drainage — around 1:60 fall is ideal.
Think about:
- Patio size
- Access points
- Sunlight direction
- Furniture placement
Step 2: Dig Out the Area
Excavate the area to approximately:
- 150mm deep for a standard patio
This allows space for:
- Sub-base
- Mortar bed
- Paving slab thickness
Remove all grass, roots, and loose soil.
Step 3: Add the Sub-Base
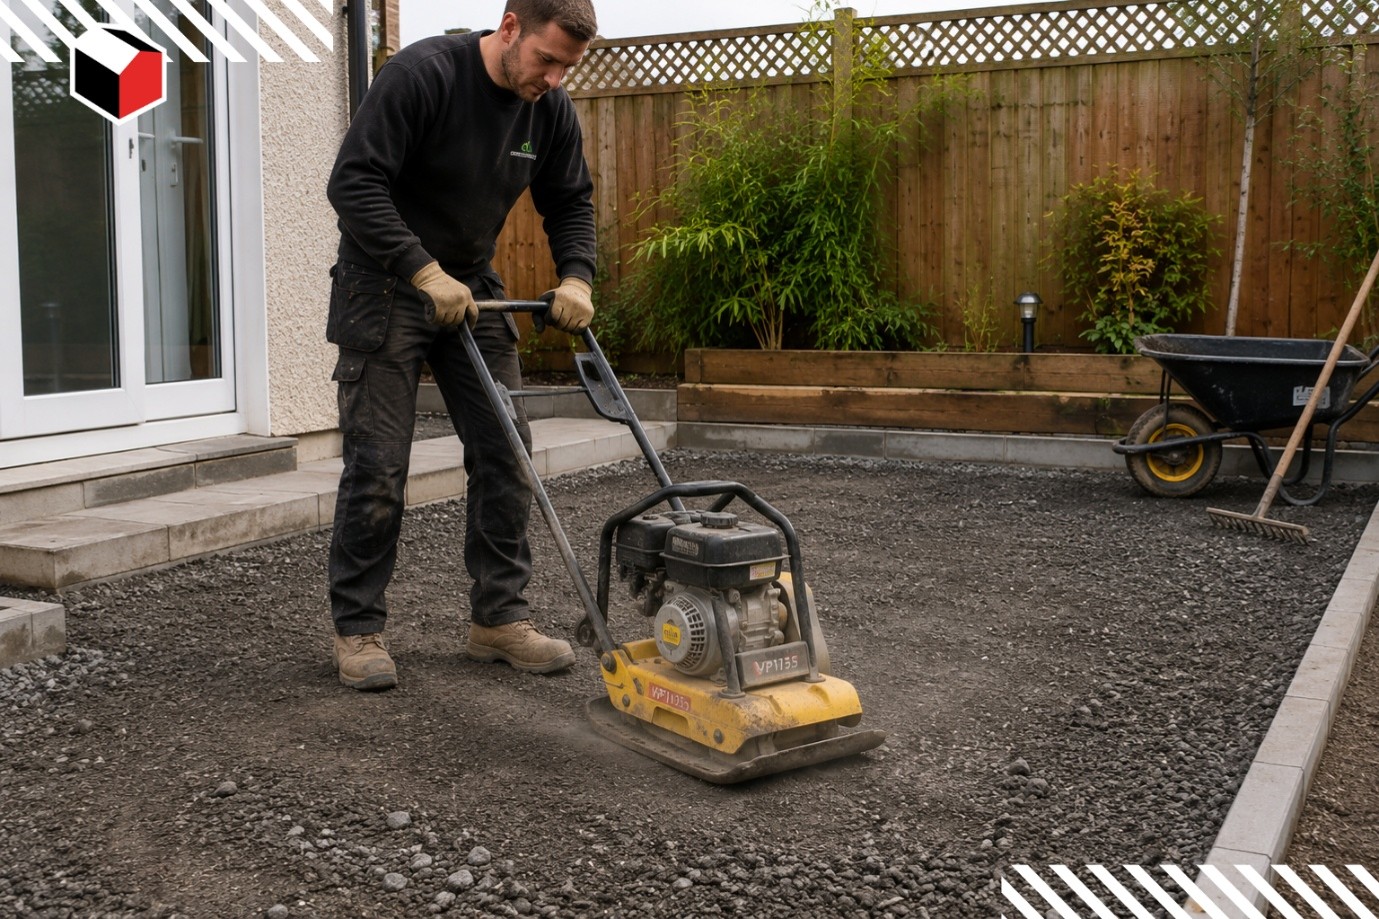
Lay around 100mm of hardcore/sub-base and compact it thoroughly using a wacker plate.
This is one of the most important steps — a poor foundation leads to sinking or uneven paving later.
It’s at this point that you can add a layer of weed membrane to prevent weeds.
TJ’s Tip: Compact in layers for the best stability.

Step 4: Prepare the Mortar Bed
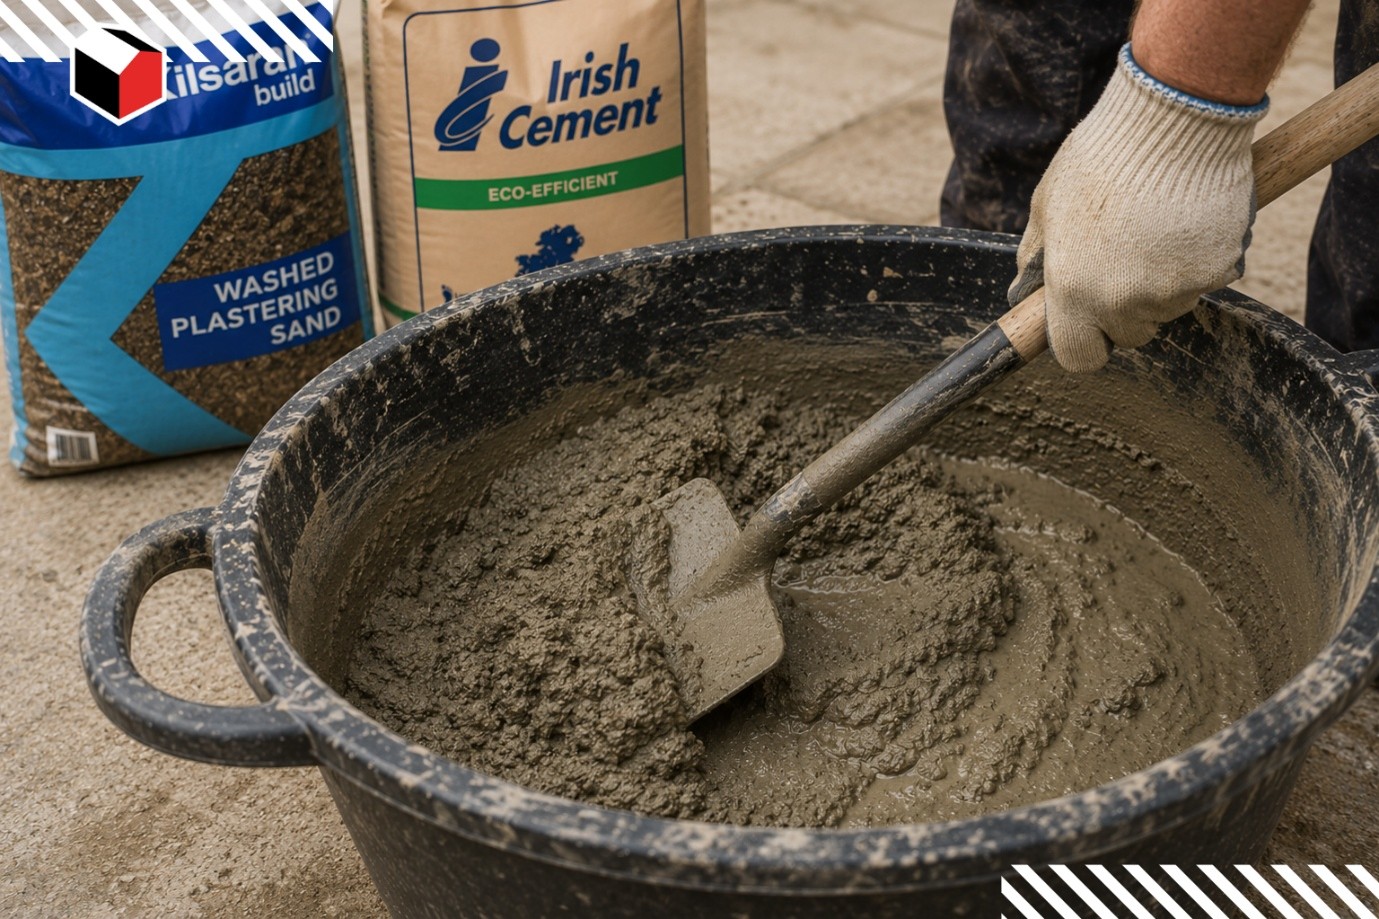

Mix a bedding mortar using:
- 4 parts sharp sand
- 1 part cement
Lay a full mortar bed approximately 30-40mm thick.
Avoid spot bedding — it can cause slabs to crack over time.
Step 5: Lay the Paving Slabs
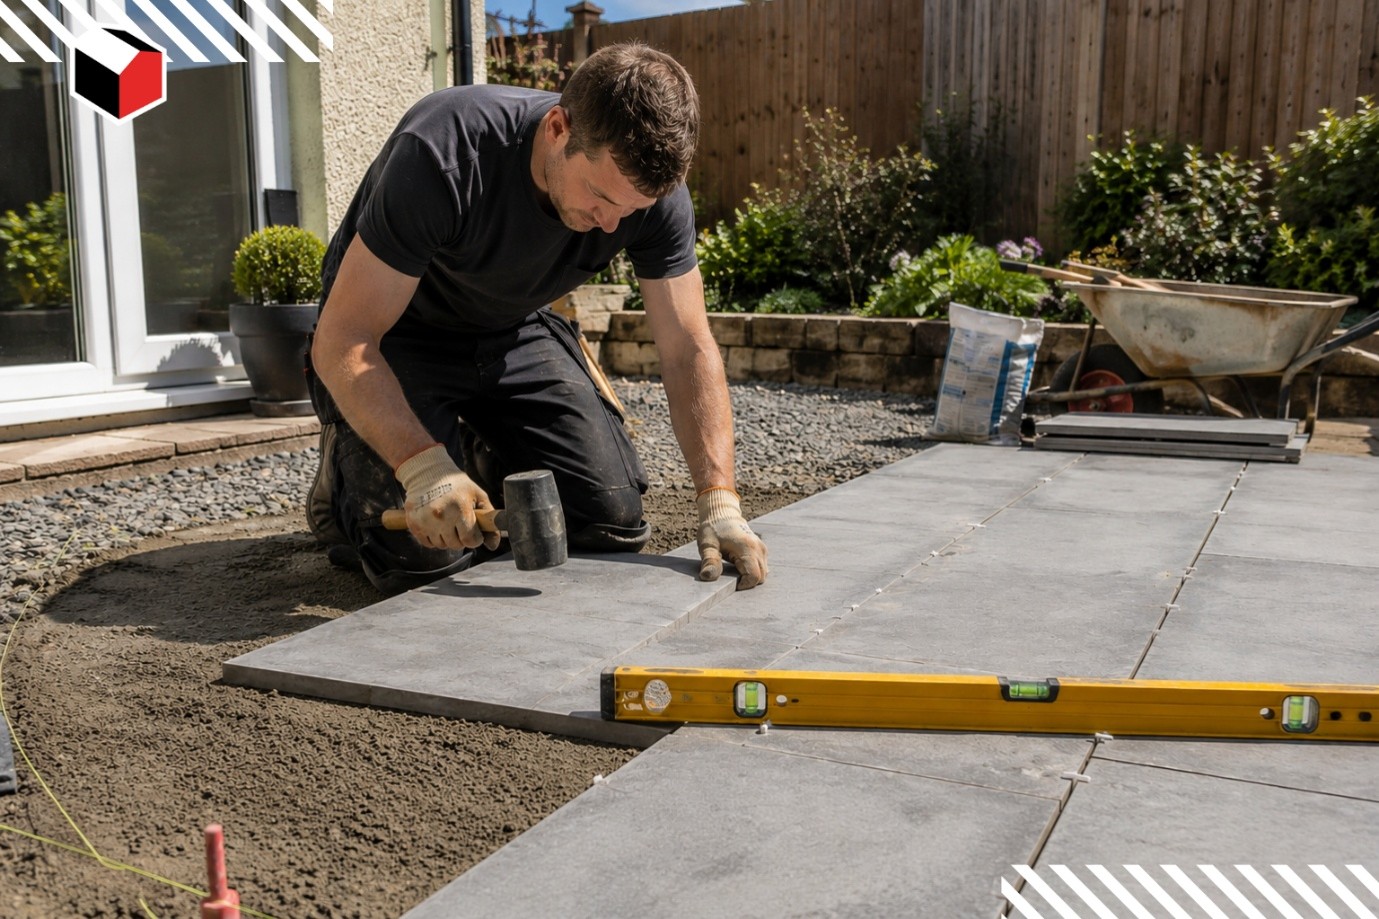

Carefully place each slab onto the mortar bed.
Use:
Check levels regularly and maintain consistent gaps between slabs.
TJ’s Tip: Work from one corner outward to avoid stepping on freshly laid slabs.
Step 6: Point the Joints
Once the patio is set:
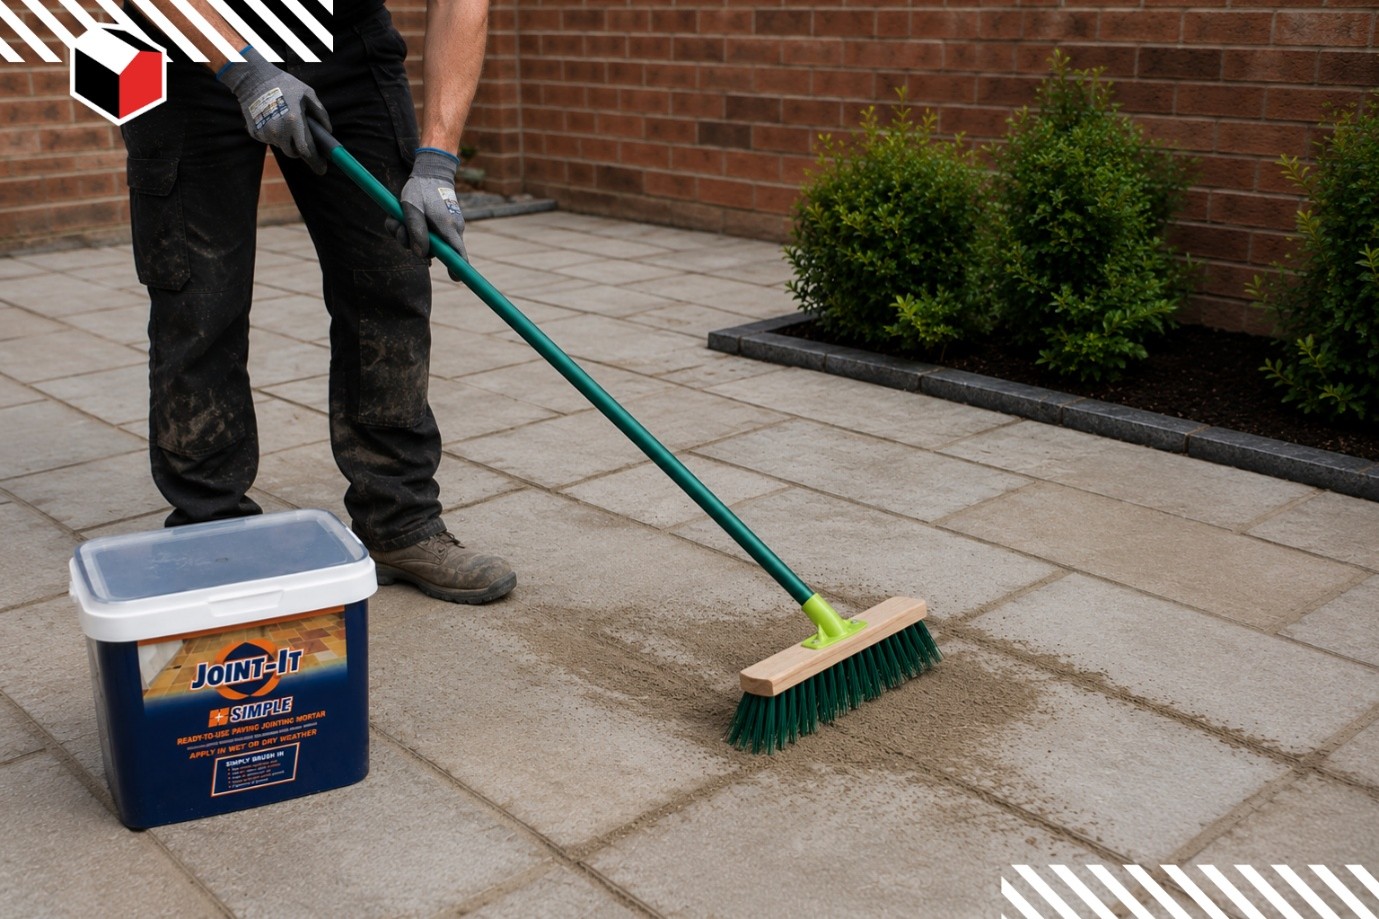
- Fill joints with pointing mortar or jointing compound
- Brush excess material away
- Clean slabs before the mortar fully dries
This helps prevent weed growth and water penetration.

Step 7: Let It Set
Allow the patio to cure for:
- 24–48 hours minimum
Avoid heavy foot traffic during this time.
Step 8: Seal Your Patio
Don’t skip this step, it will ensure that your patio is protected from dirt and spillages.
- Always read the manufacturers label before using any sealer
Once treated allow 24 hours to dry and cure before using the patio.
The final step is, enjoy what you have created.


Common DIY Patio Mistakes to Avoid
- ❌ Skipping the sub-base
- ❌ Poor drainage planning
- ❌ Uneven mortar beds
- ❌ Not checking levels regularly
- ❌ Rushing the curing process
Final Thoughts
Installing a patio yourself is a rewarding weekend project that can add real value and enjoyment to your home. With quality materials and proper preparation, you can achieve a professional finish without hiring a contractor.
Need help choosing paving slabs, sand, cement, or tools?
Visit your local TJ O’Mahony branch and speak to our team for expert advice on your next garden project / shop all you need online at tjomahony.ie